How to add push notification in a Next/React JS App?
Hello friends, Today in this post we will see how we can setup onesignal push notification with our React/NextJS application. Web push notification is the best channel to enhance user engagement, product lauch, offers & sales, etc. Unlike traditional channels like email, web push notification notify users quickly and drive traffic to your website. So I will be showing how I integrated OneSignal push notification in my website codewithmarish.com which is built on NEXT JS , optionally I will also mention the steps for React JS Apps to as the steps are very similar. Let's get Started.
Step 1 - OneSignal Setup
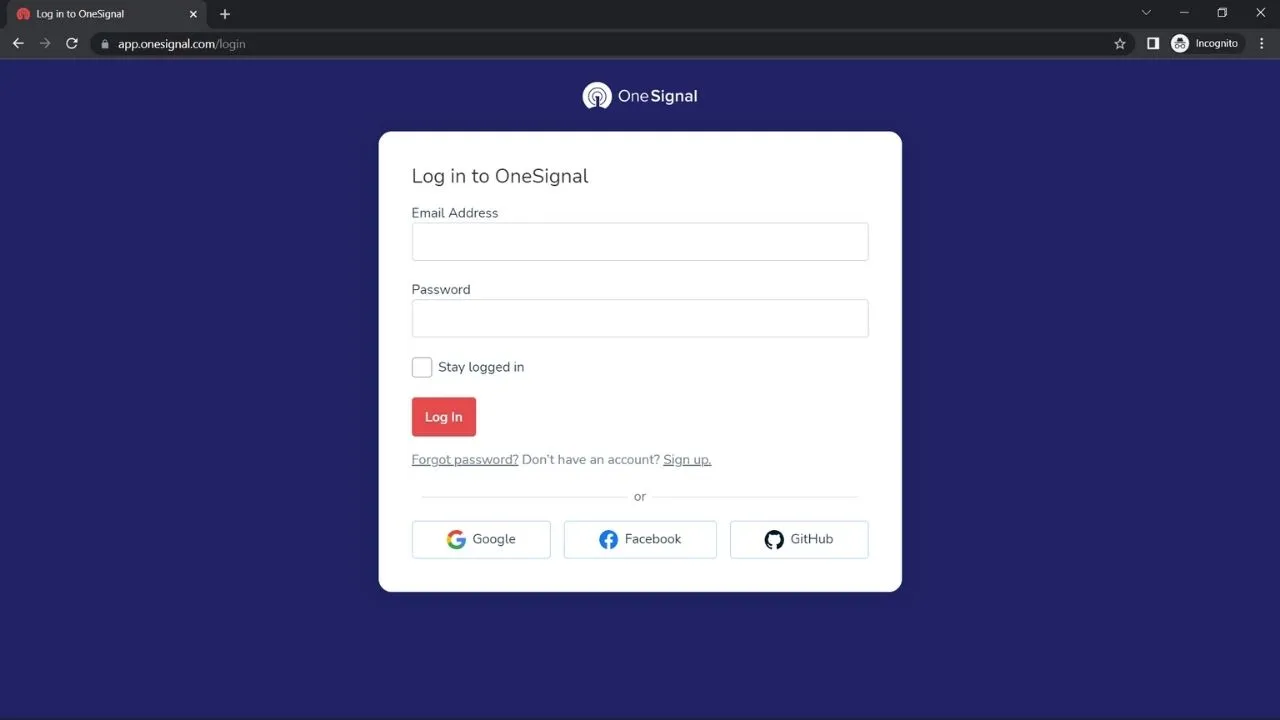
First Signup for the OneSignal Account
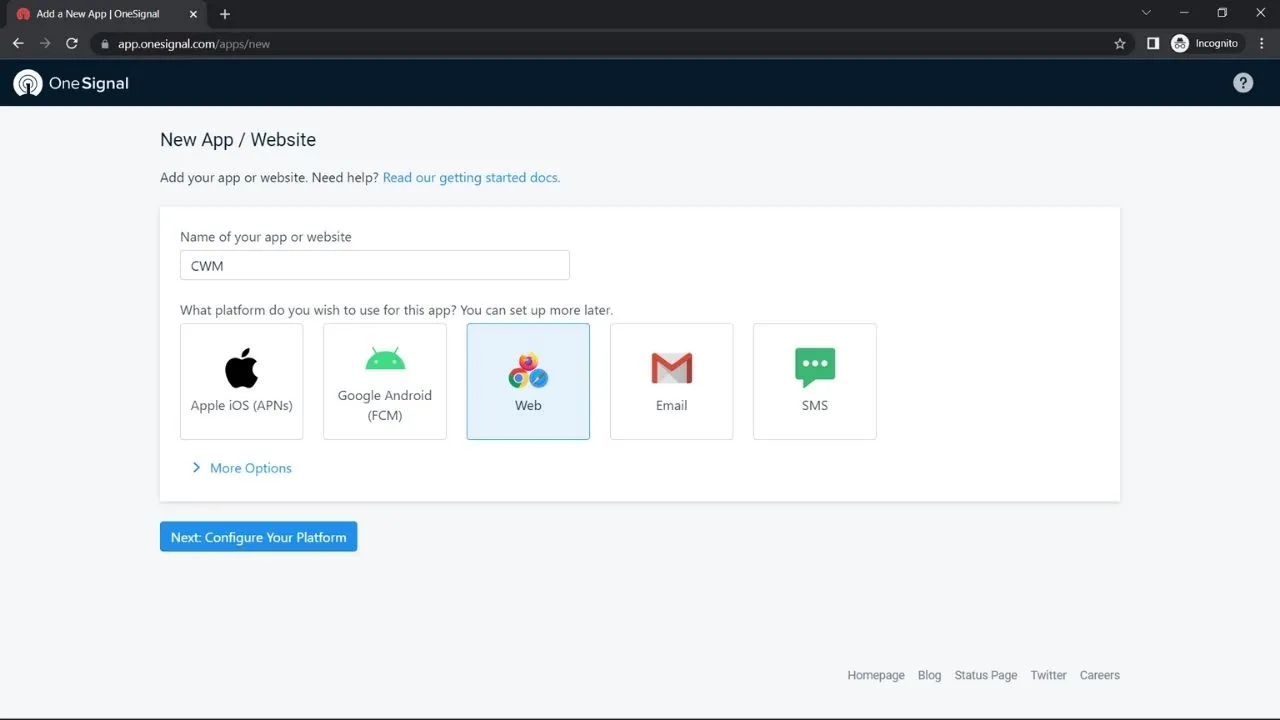
Specify an application name and select type of application, I will select "Web"
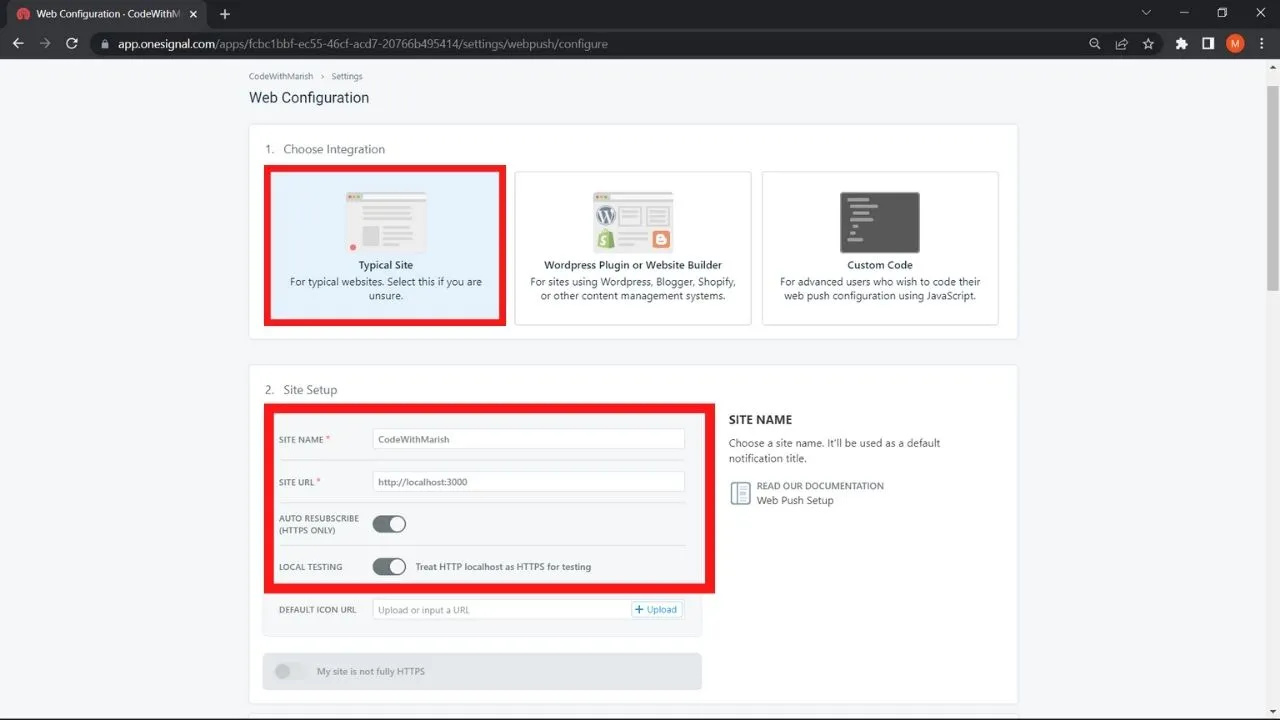
Choose Integration as "Typical Site" and under site setup specify your "Site Title" and "Site Url" as of now specify localhost for testing. Turn on local testing
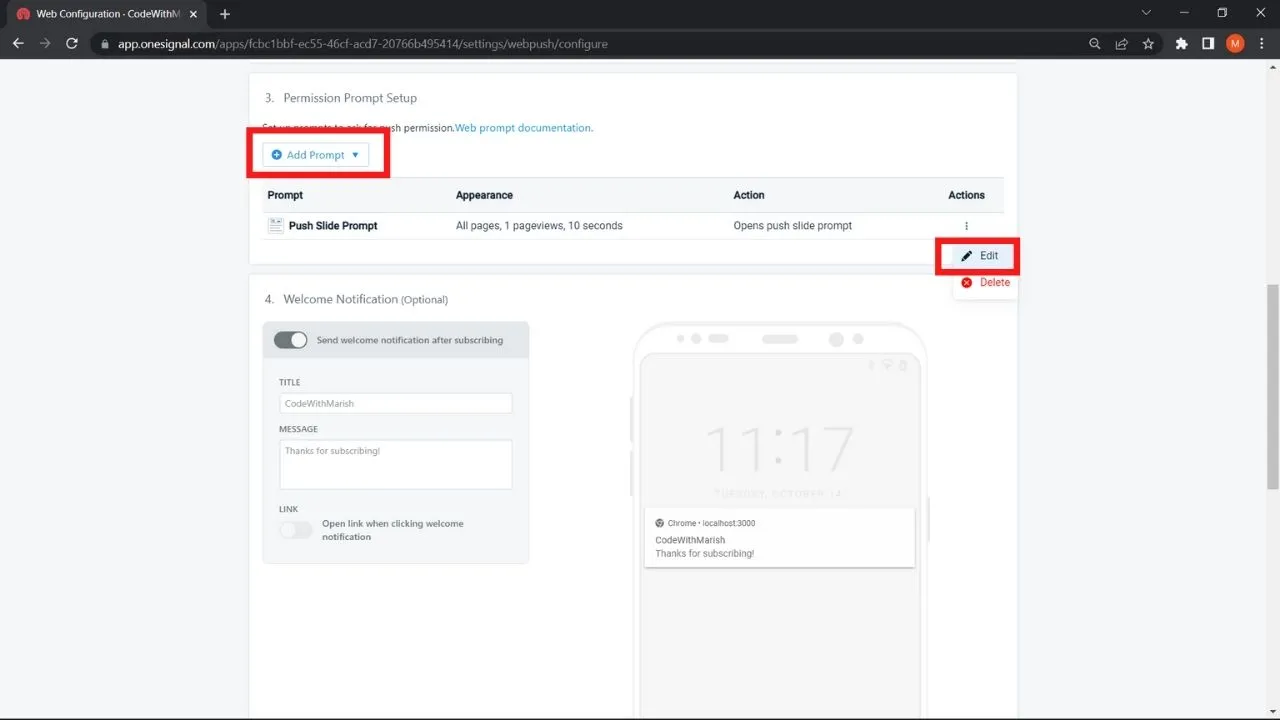
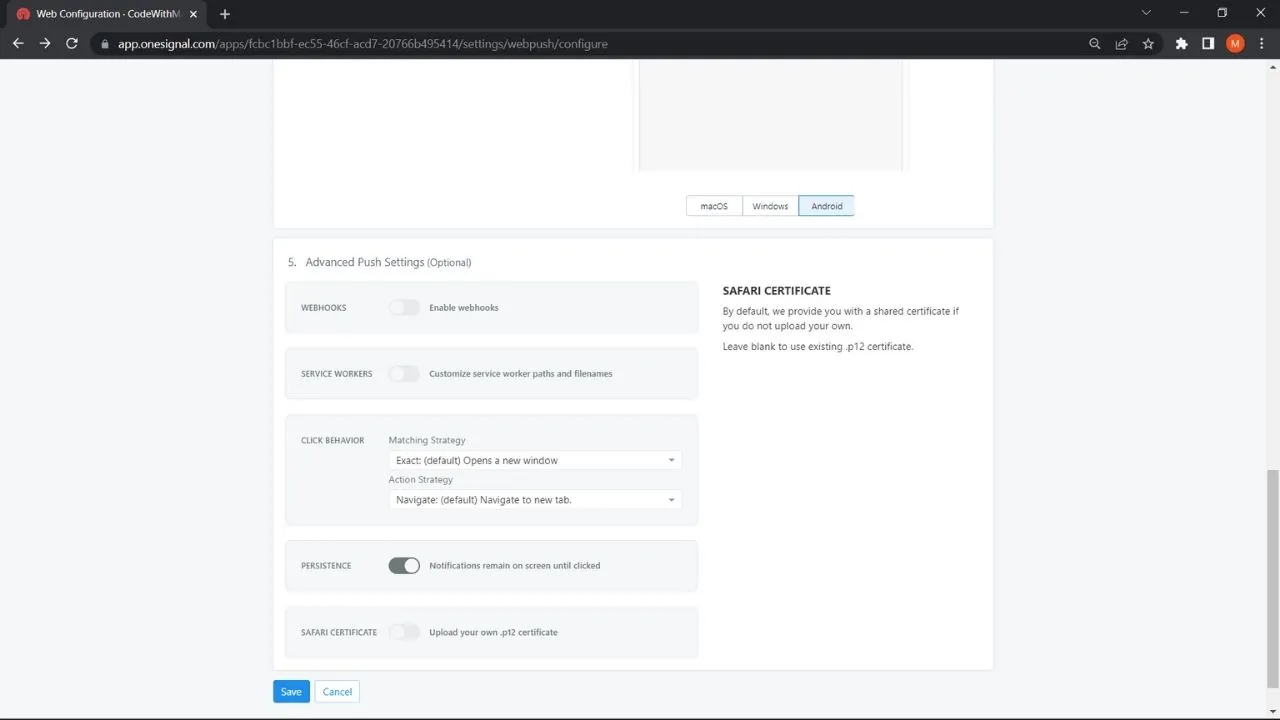
Now Set up your Permission prompt setup, you can either edit or add new permission promt.Configure the permission prompt.
Click Save, and next step will be open
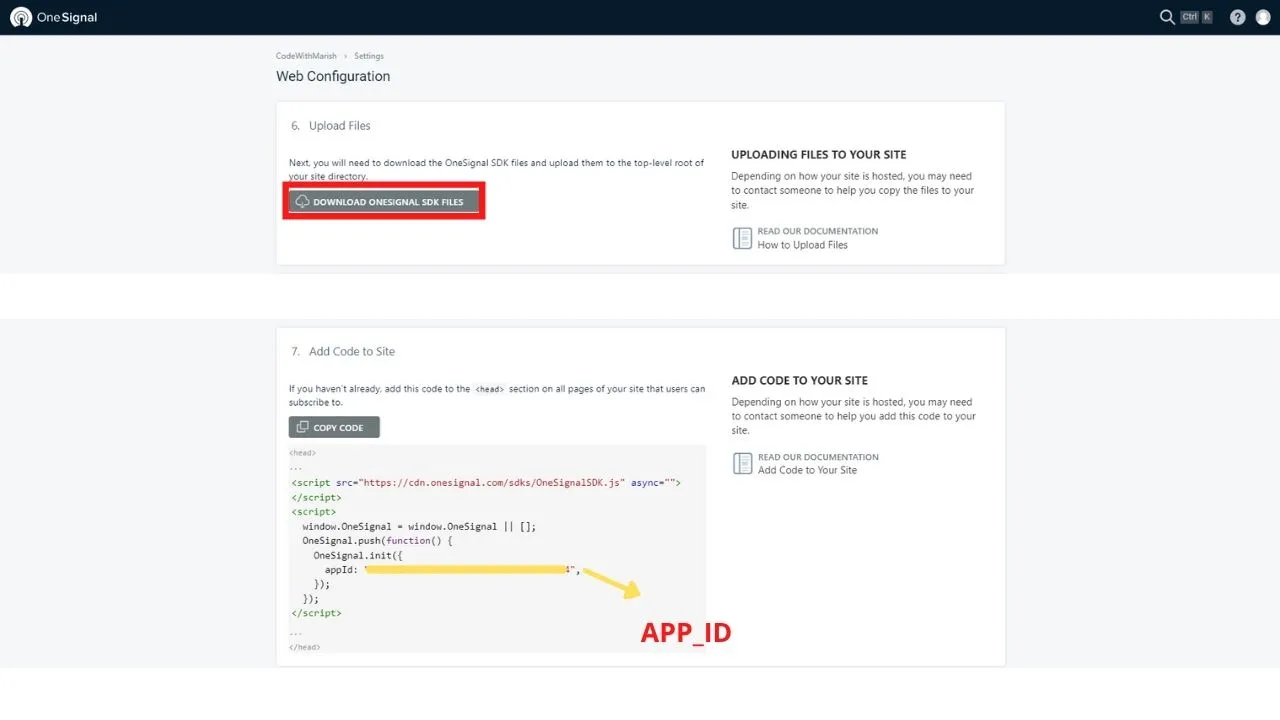
Now download OneSignal SDK Files, it will be a zip file and extract put it in your root folder. In React/Next JS place this downloaded file inside public folder.
Copy this app id, it will be used in the project setup.
Step2 - NEXT JS SETUP
Open _app.js under pages folder and add the below code. This code will help in initializing the OneSignal. if you encounter error like "window is not defined" then make sure you have this if condition. So it will initialise OneSignal after page is fully loaded.
useEffect(() => {
    if (typeof window !== undefined) {
      window.OneSignal = window.OneSignal || [];
      OneSignal.push(function () {
        OneSignal.init({
          appId: "YOUR_ONE_SIGNAL_ID",
          notifyButton: {
            enable: true,
          },
        });
      });
    }

    return () => {
      window.OneSignal = undefined;
    };
  }, []);
Create a new file named _document.js under pages directory to load OneSignalSdk.js with the below code. This _document.js is used when you want customise the <html> <head> & <body> for more details you can refer next js documentation.
https://nextjs.org/docs/advanced-features/custom-document
import { Html, Head, Main, NextScript } from "next/document";
export default function Document() {
  return (
    <Html lang="en">
      <Head>
        <script
          async
          src="https://cdn.onesignal.com/sdks/OneSignalSDK.js"
        ></script>
      </Head>
      <body>
        <Main />
        <NextScript />
      </body>
    </Html>
  );
}
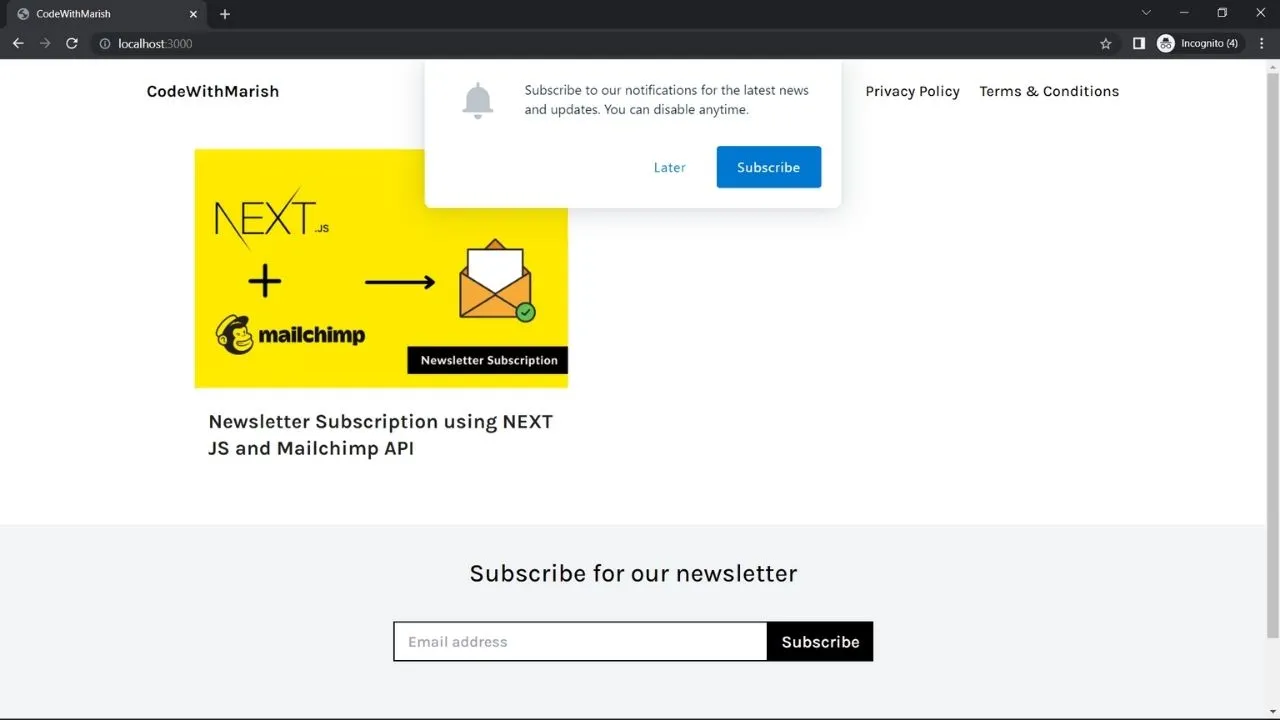
Run app in your browser using npm run dev in command line. If everything setup properly then you should have received slider as below asking to subscribe. Make sure you Subscribe for testing.
Now we will look for steps for a React JS Project
Step2 - React JS setup
Open index.html under public folder add the below code inside head tag
<script async src="https://cdn.onesignal.com/sdks/OneSignalSDK.js"
></script>
Install the react-onesignal package using below command
npm i react-onesignal
Now open App.js and import OneSignal form react-onesignal and place the below code for initializing OneSignal.
import OneSignal from 'react-onesignal';
.....
...
..
useEffect(() => {

   OneSignal.init({
     appId: "YOUR-APP-ID-HERE"
   });
}, []);
And start your project using npm start
Step3 - Testing
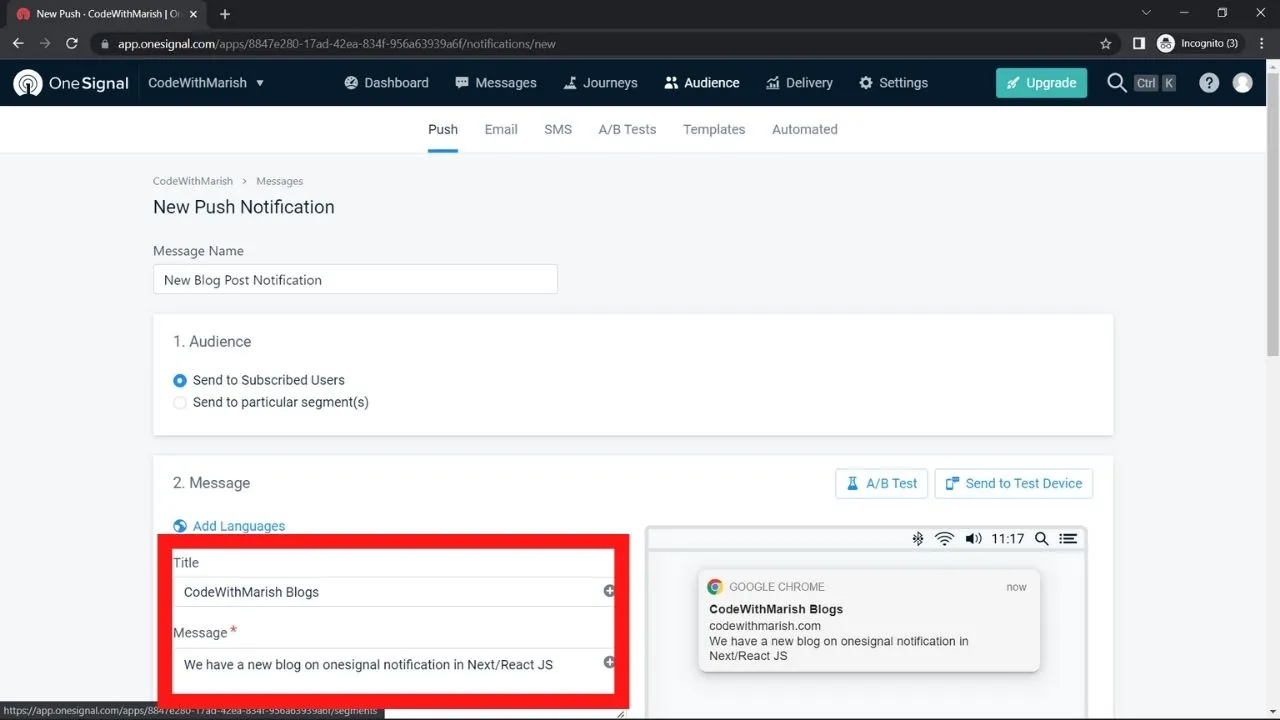
To test now go to messages tab in your onesignal account and create a new push message. Fill our message name, title, message, etc.
(Note: Make sure you have subscribed for the notification). Additionally you can check list of subscribers inside "Audience tab" just confirm whether subscribers are greater than zero.
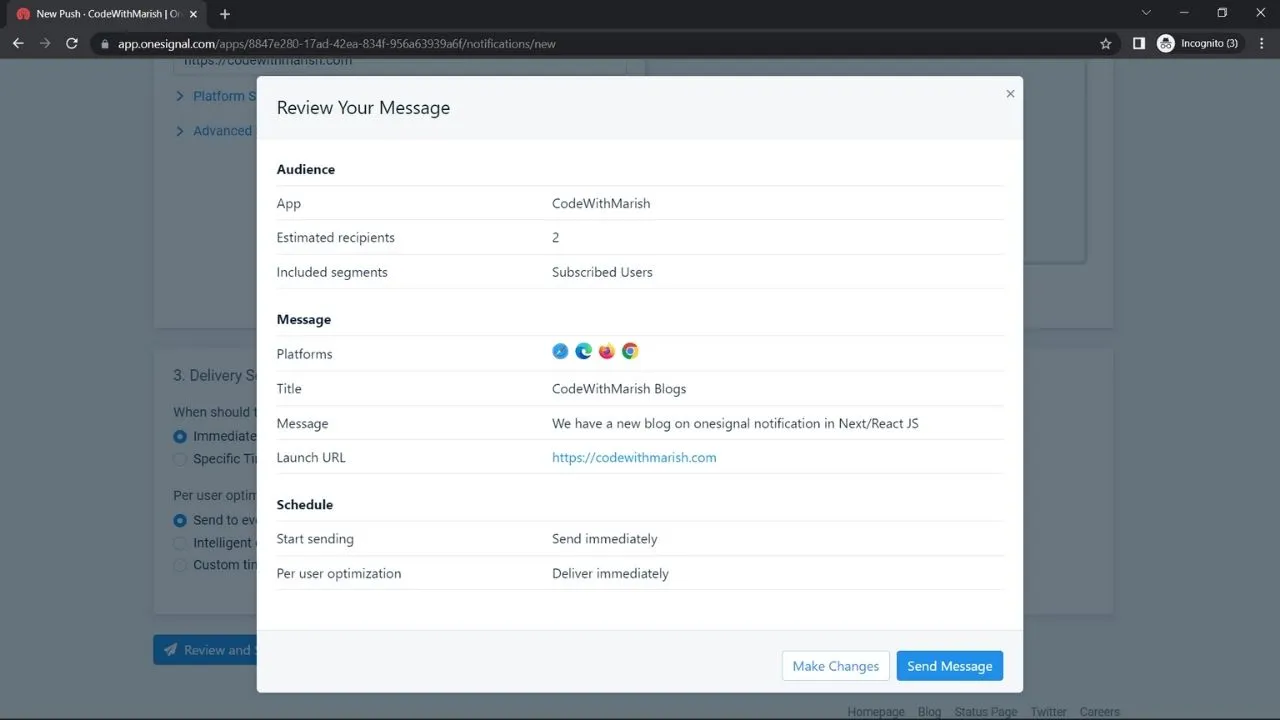
Once done click on review and send.
Now if you click on send message then you will receive a push notification from your browser.
So That's it for this post friends, If you found this post helpful please share maximum, Thanks for reading 😊 Stay tuned.
Also don't forgot to subscribe our youtube channel codewithmarish for all web development related challenges
https://www.youtube.com/channel/UCkPYmdVz8aGRH6qCdKMRYpA
If you got stuck at any of the steps you can also refer onesignal documentation
