Newsletter Subscription using NEXT JS and Mailchimp API
Hello friends, Today in this post we will see how we can setup mailchimp newsletter subscription with our NEXT JS application. The Newsletter is one of the best way to engage with your audience as email communication is mostly preferred. So integrating newsletter in your website will help you in engaging with your audience or subscribers easily.
Step 1: Mailchimp setup
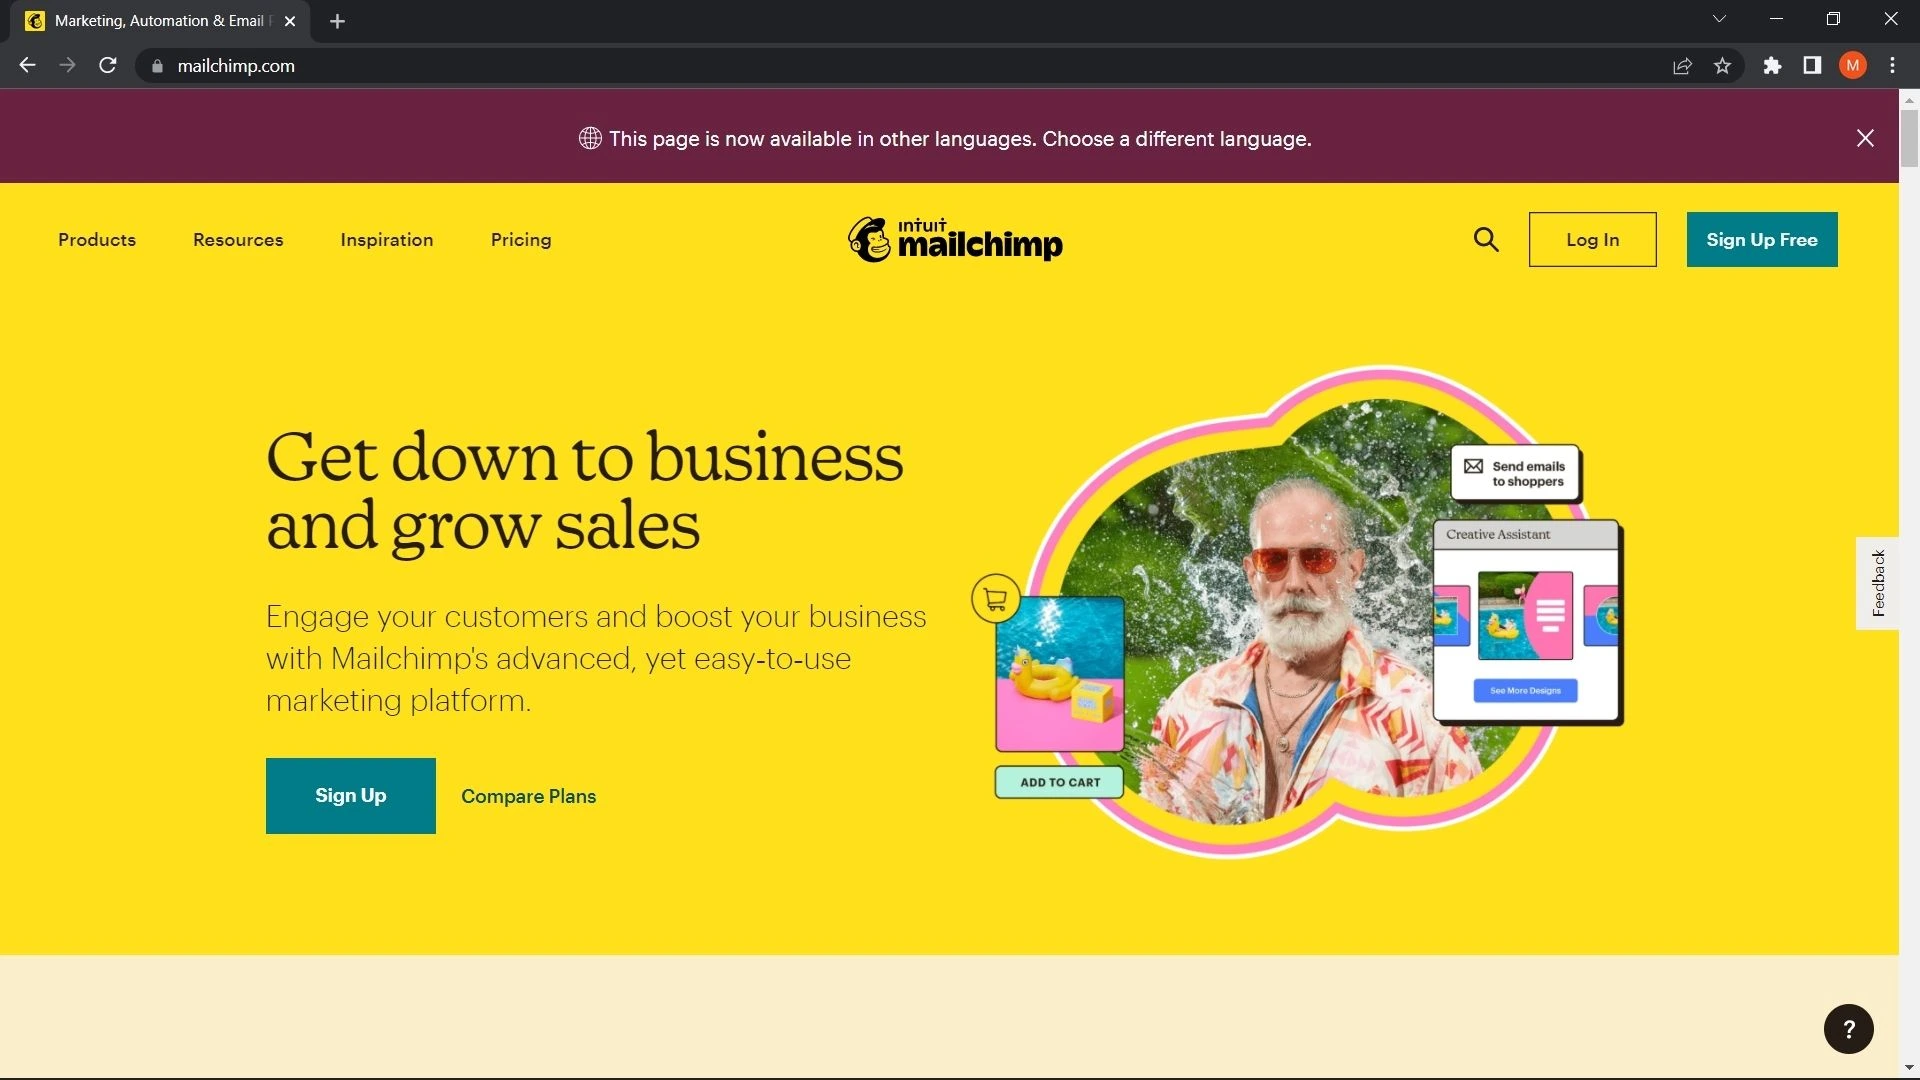
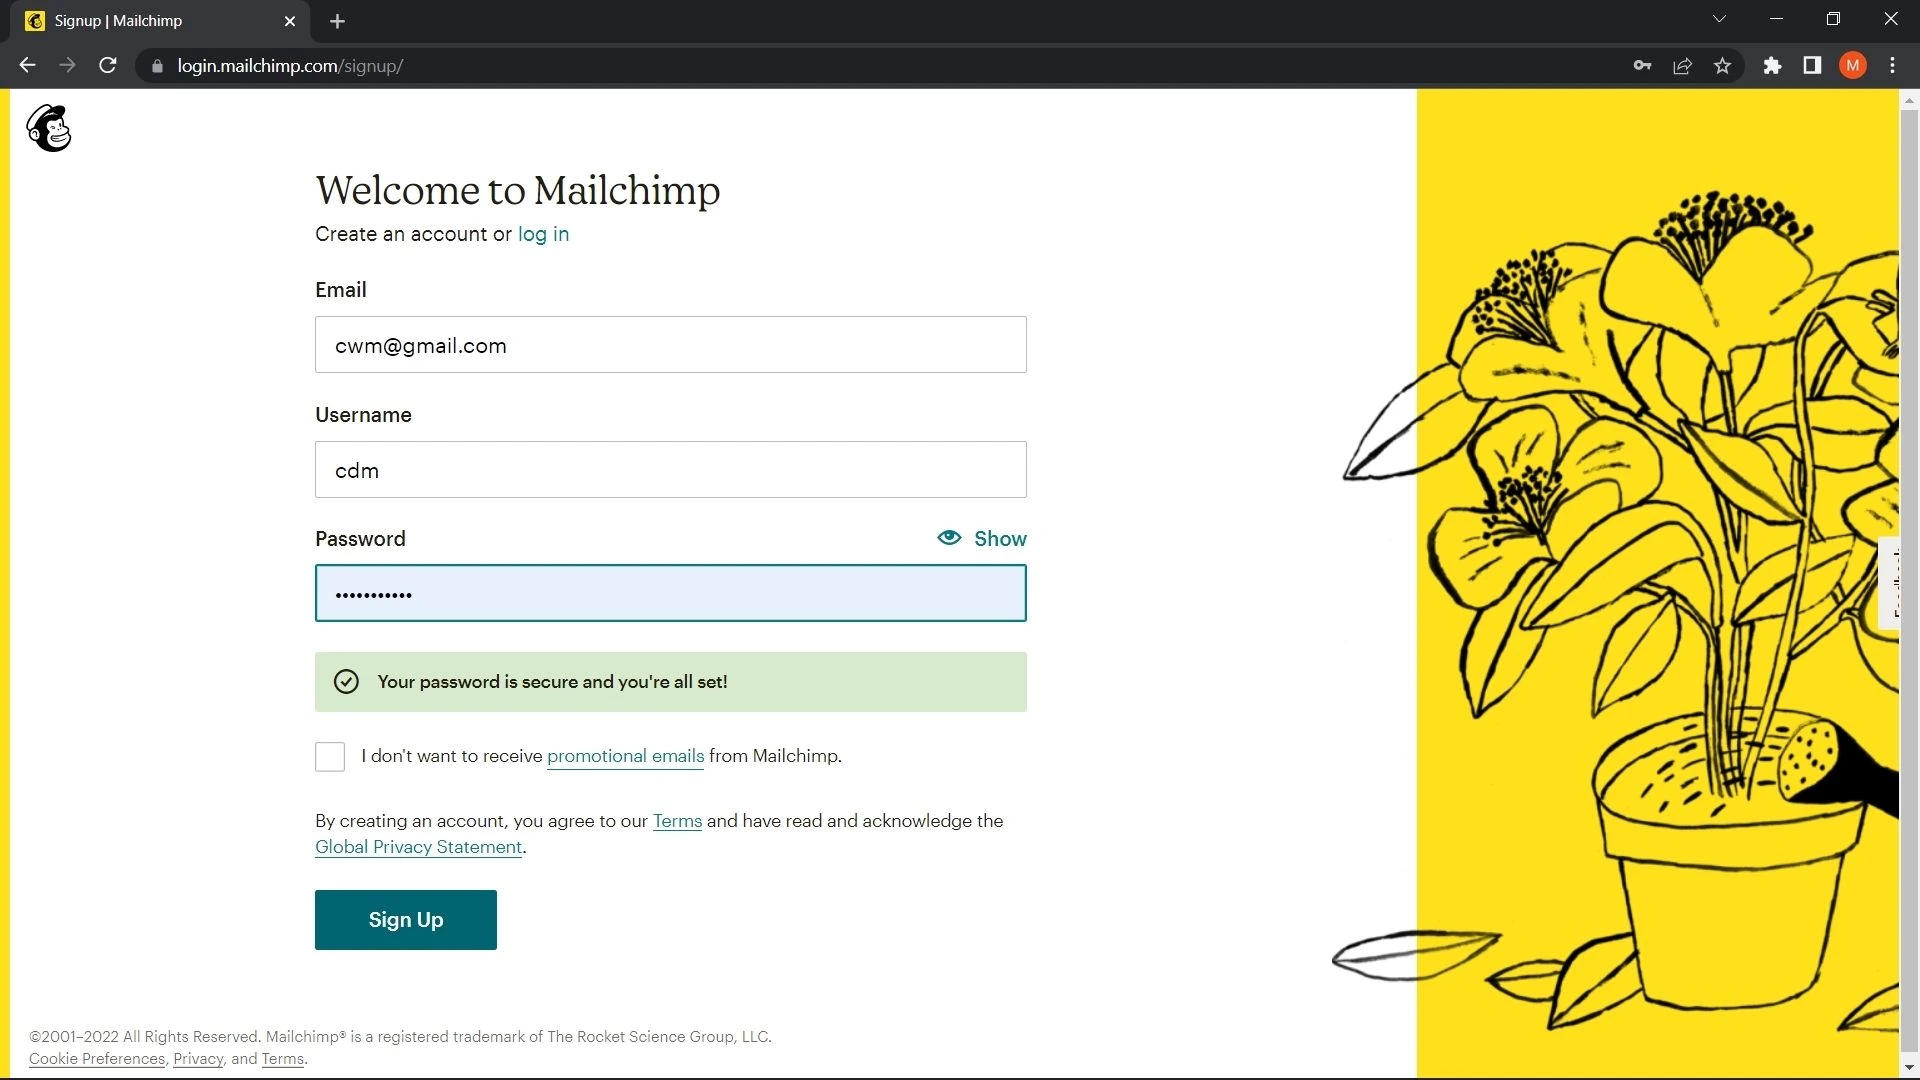
First Sign up for a free Mailchimp account you can also compare plans and choose based on your requirements.
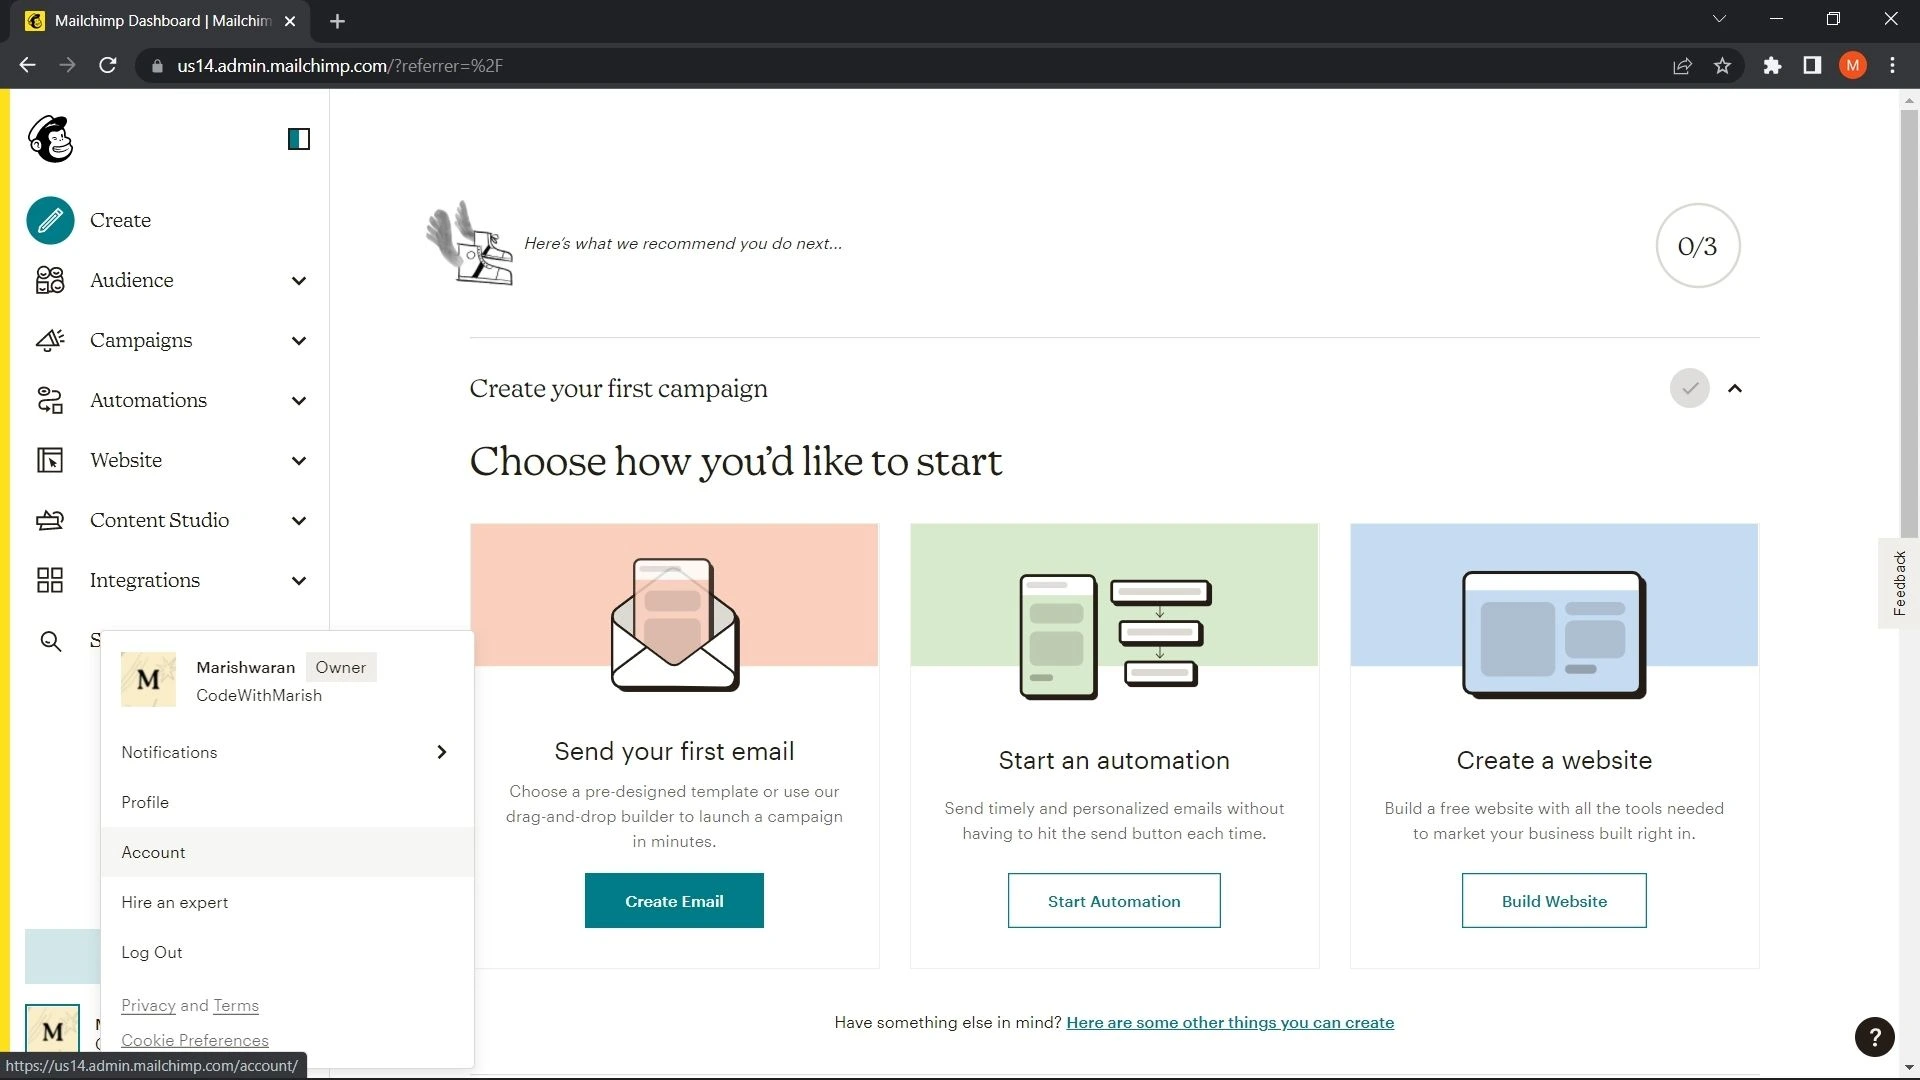
A dashboard will be opened like this, first, we will create an API key, click on your profile at the bottom and select an account.
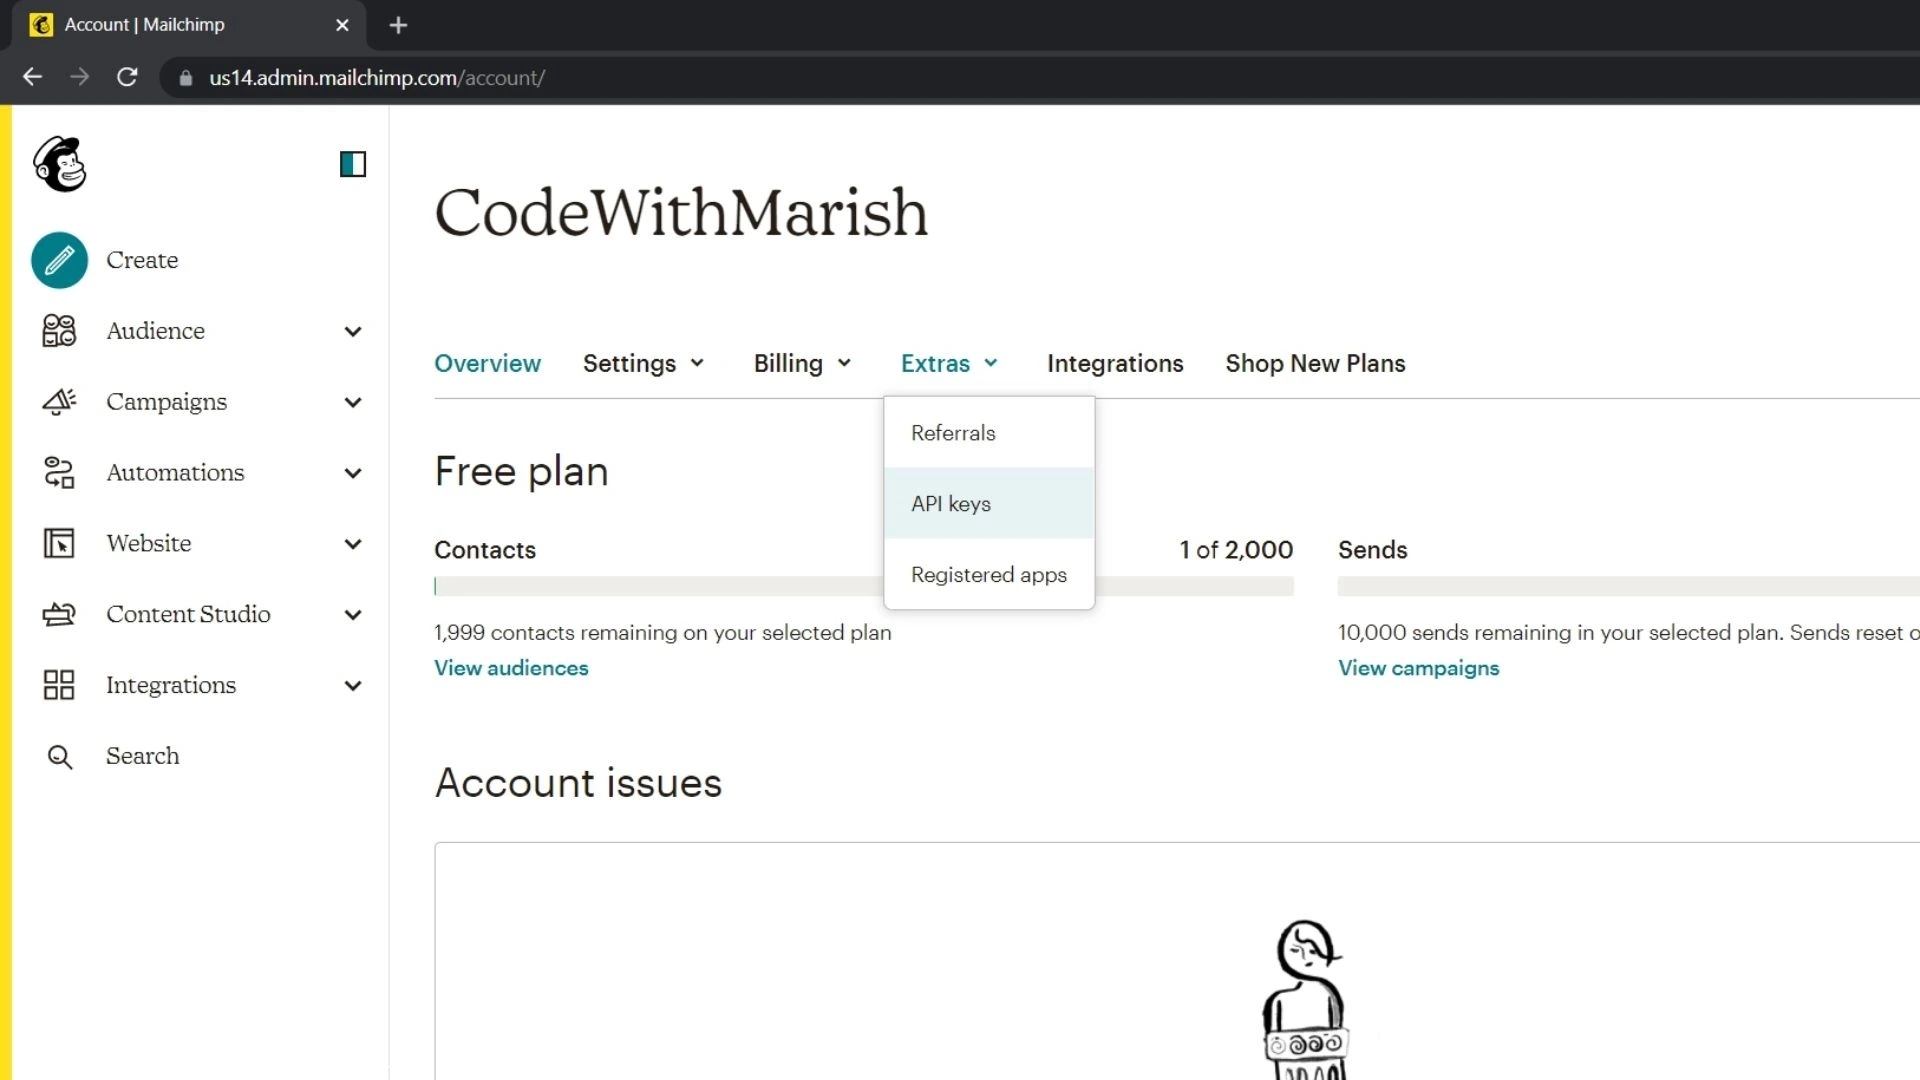
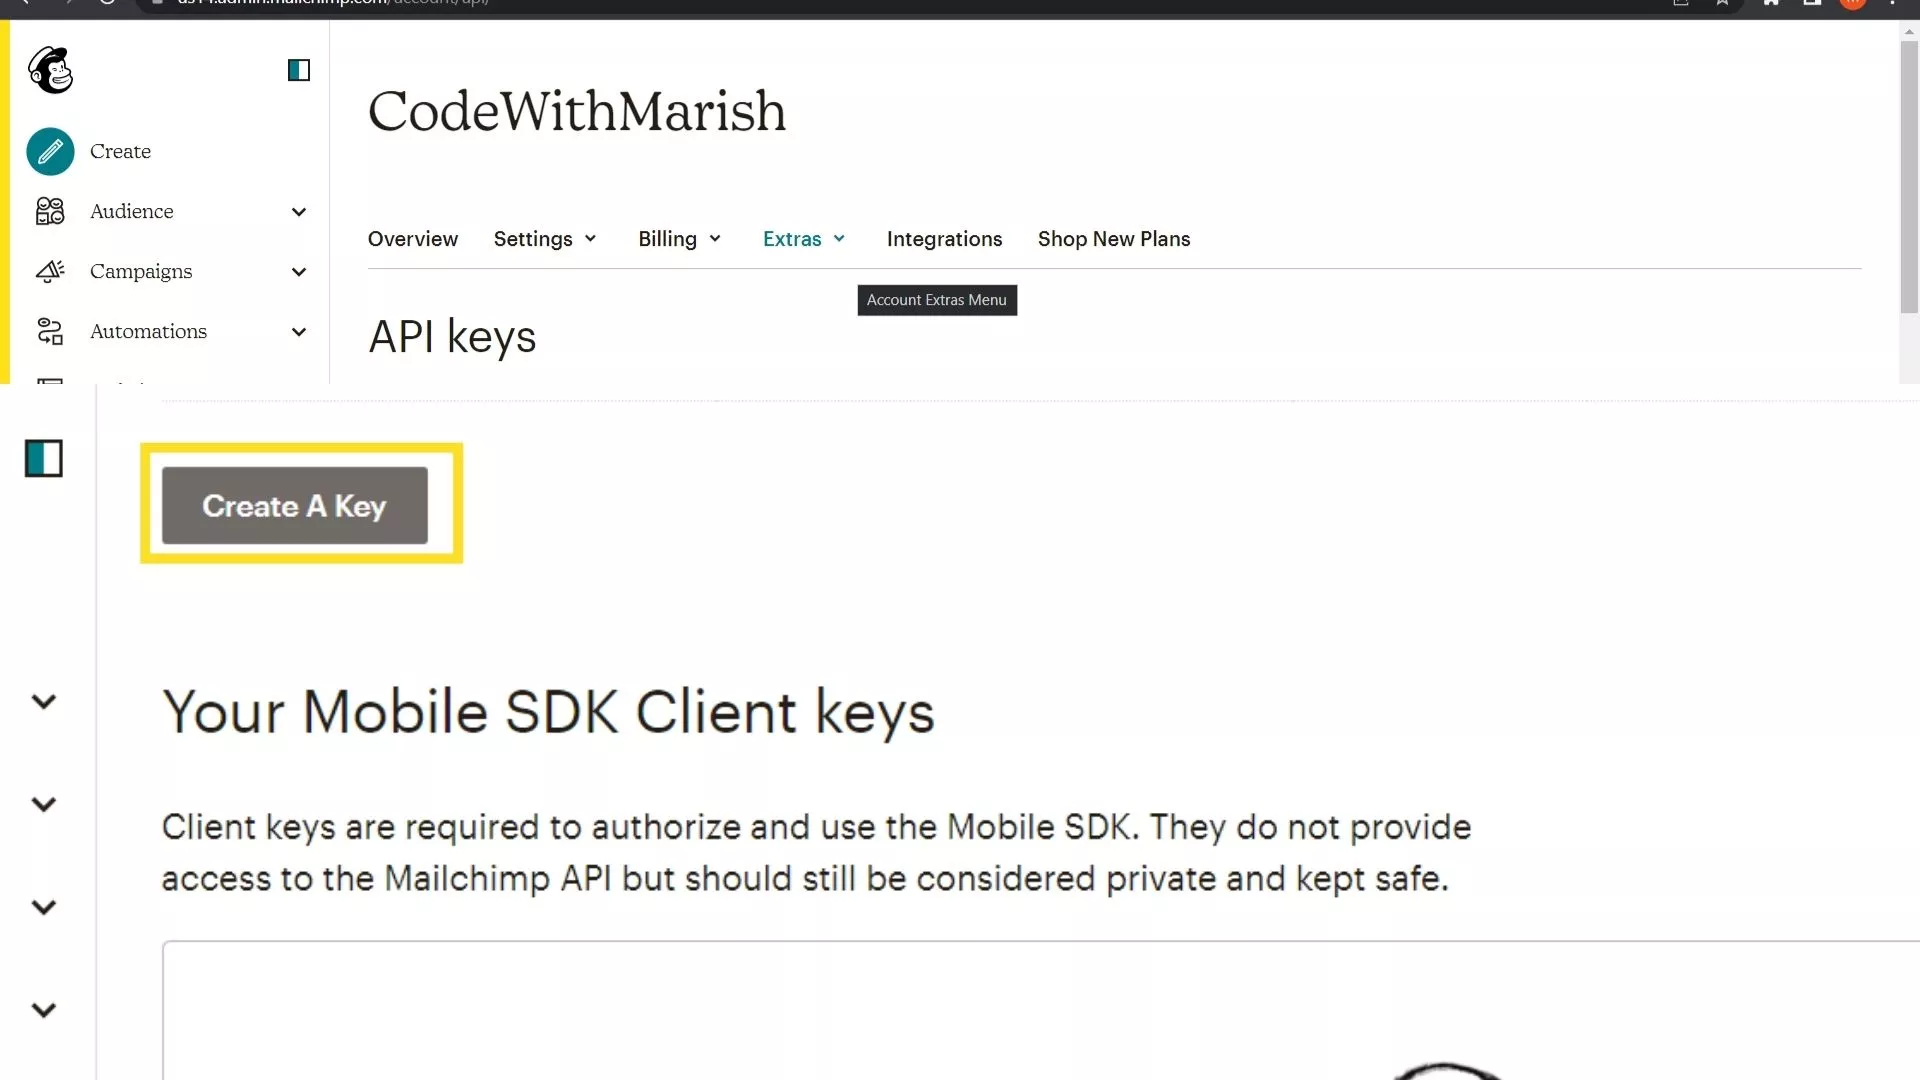
Click on extras dropdown and select API Keys, scroll little and click Create A key, and key will be created.
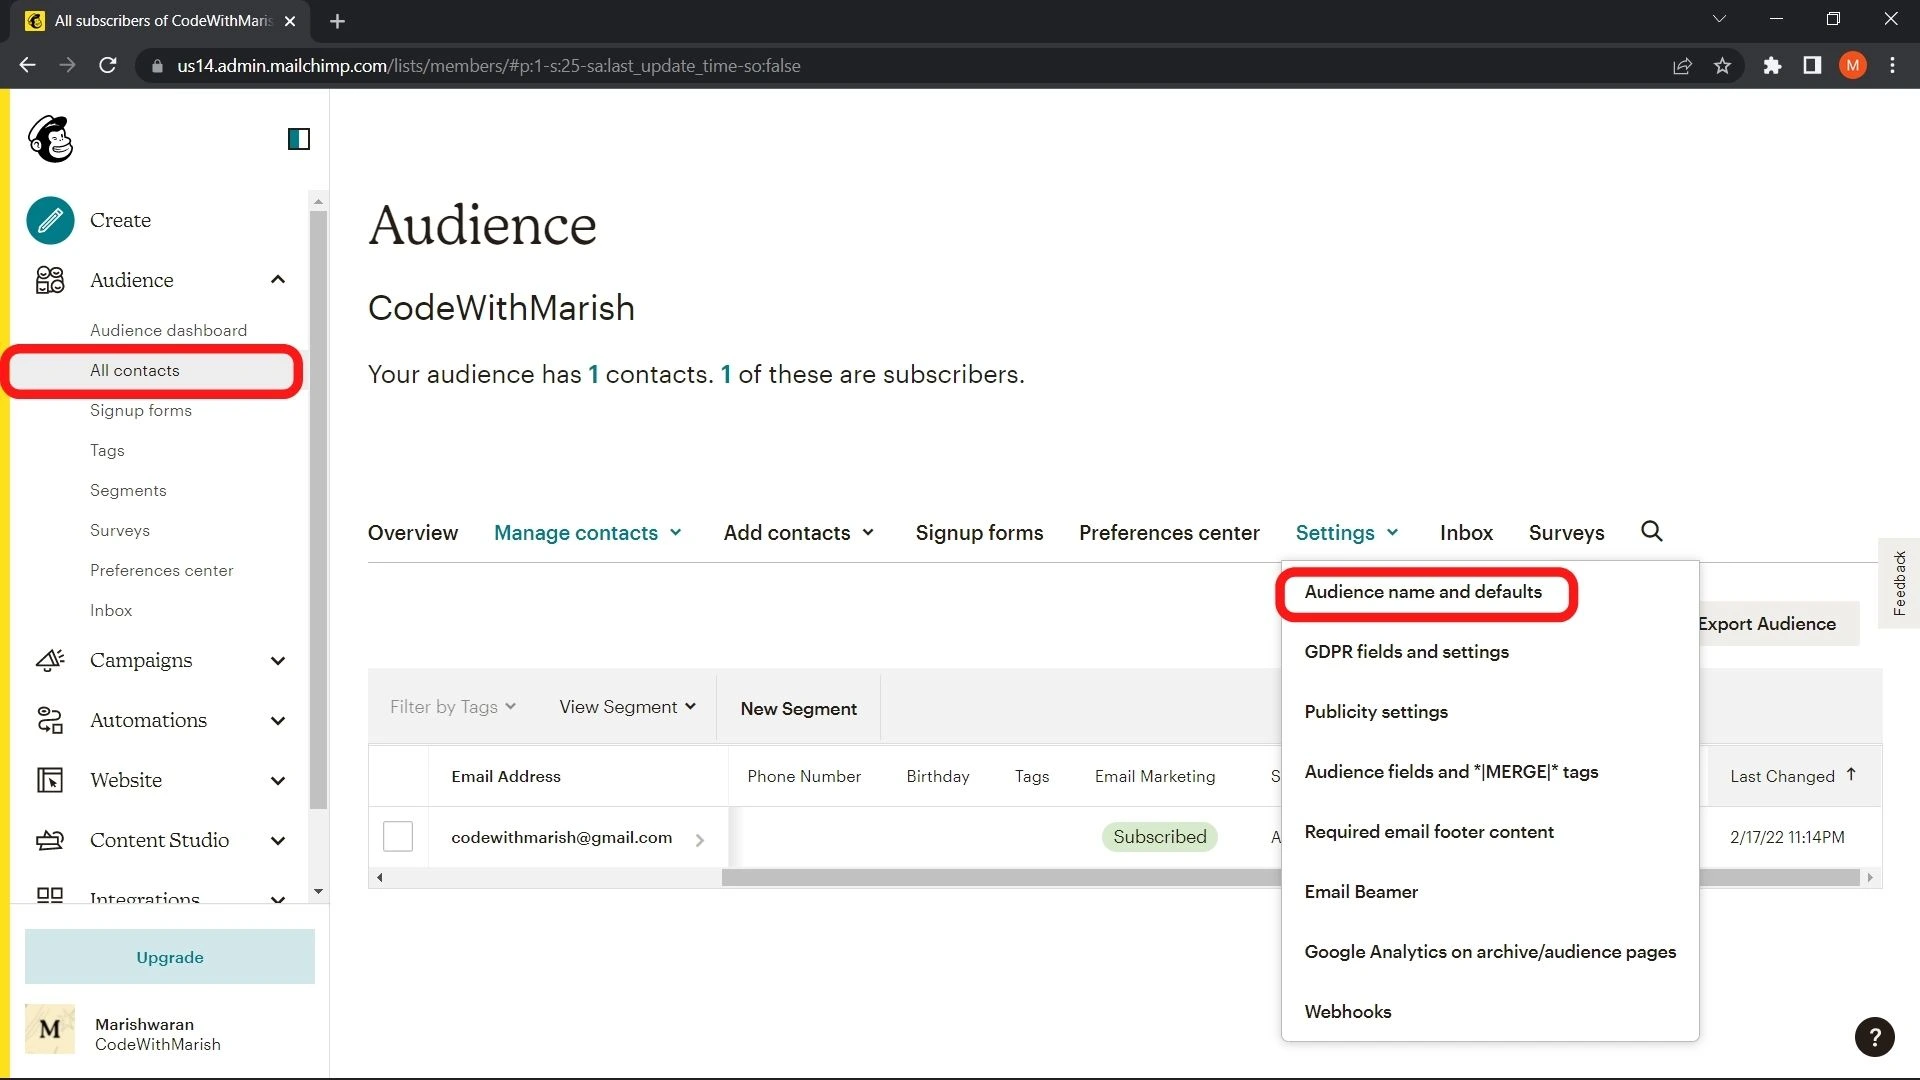
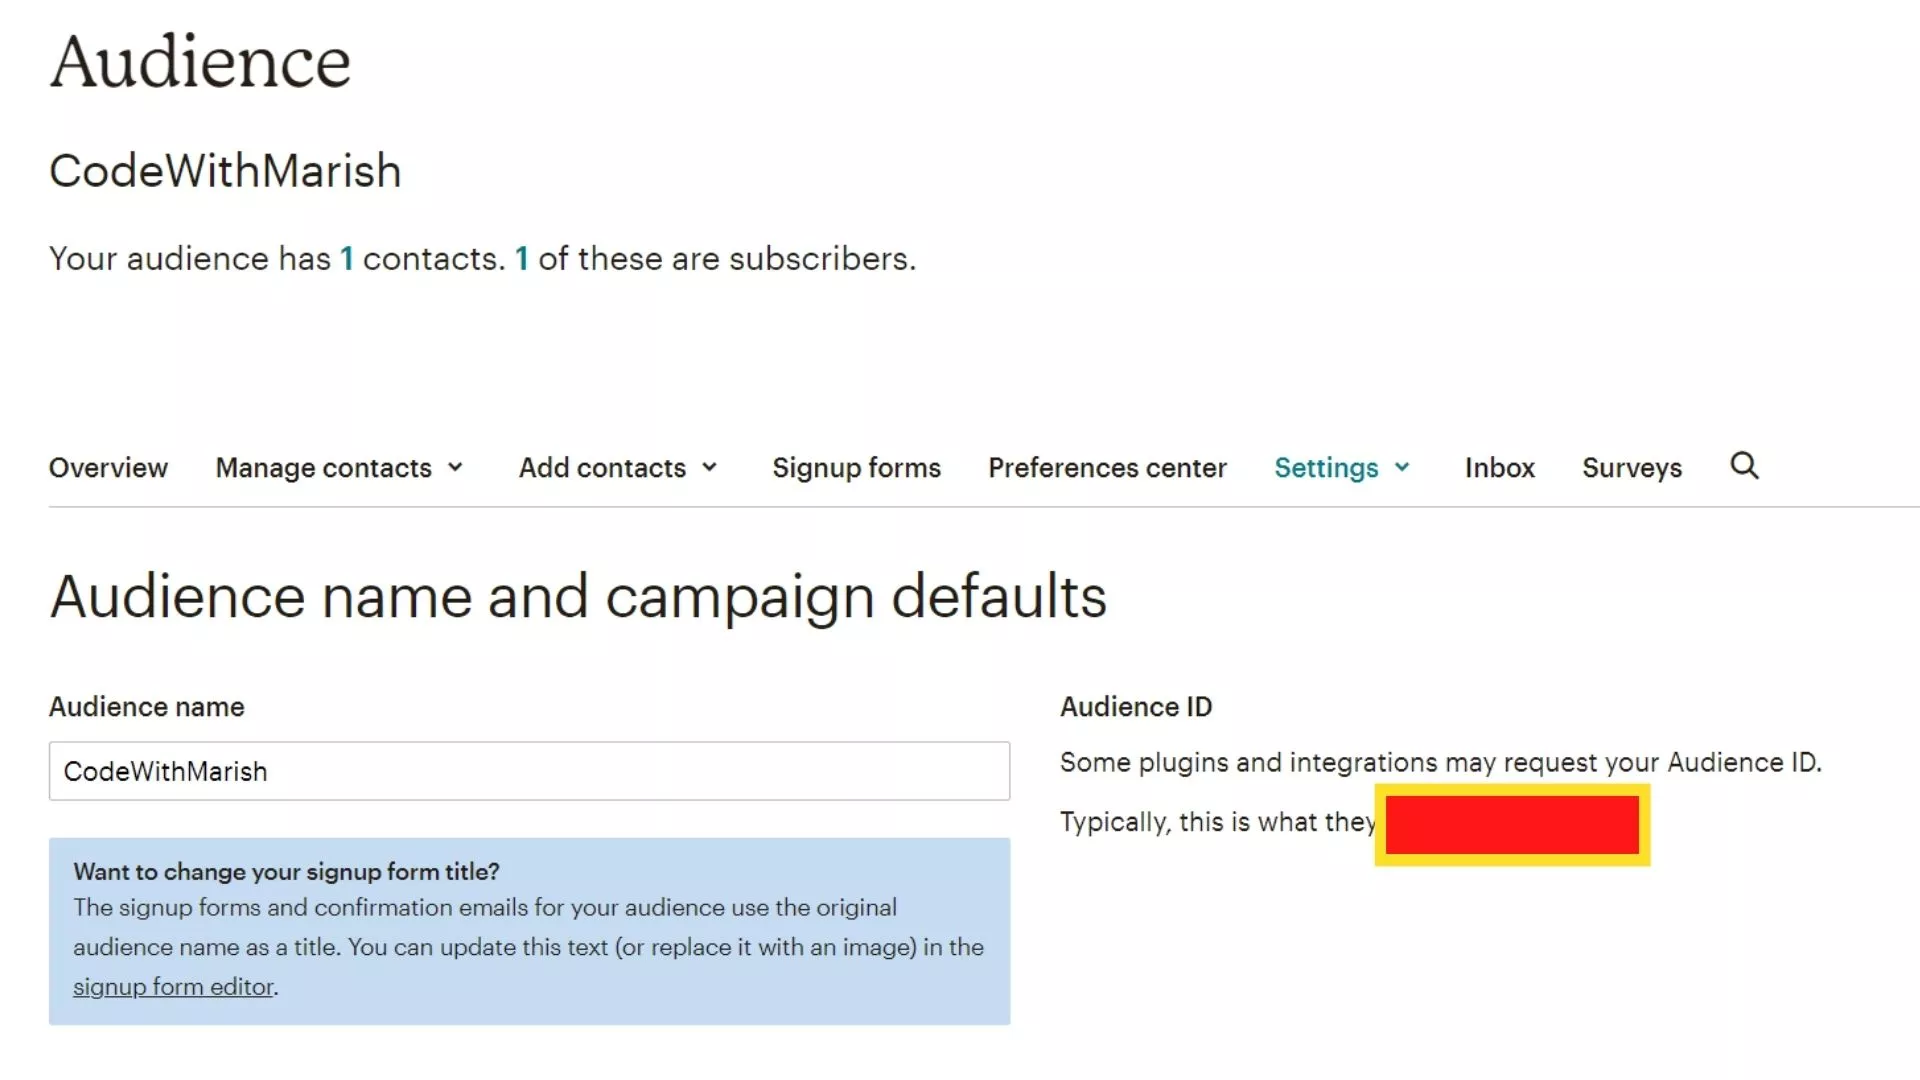
Now under Audience on the left sidebar, select All Contacts, and under settings select "Audience name and defaults" find Audience Id.
That's it with Mailchimp setup
Step 2: API Setup
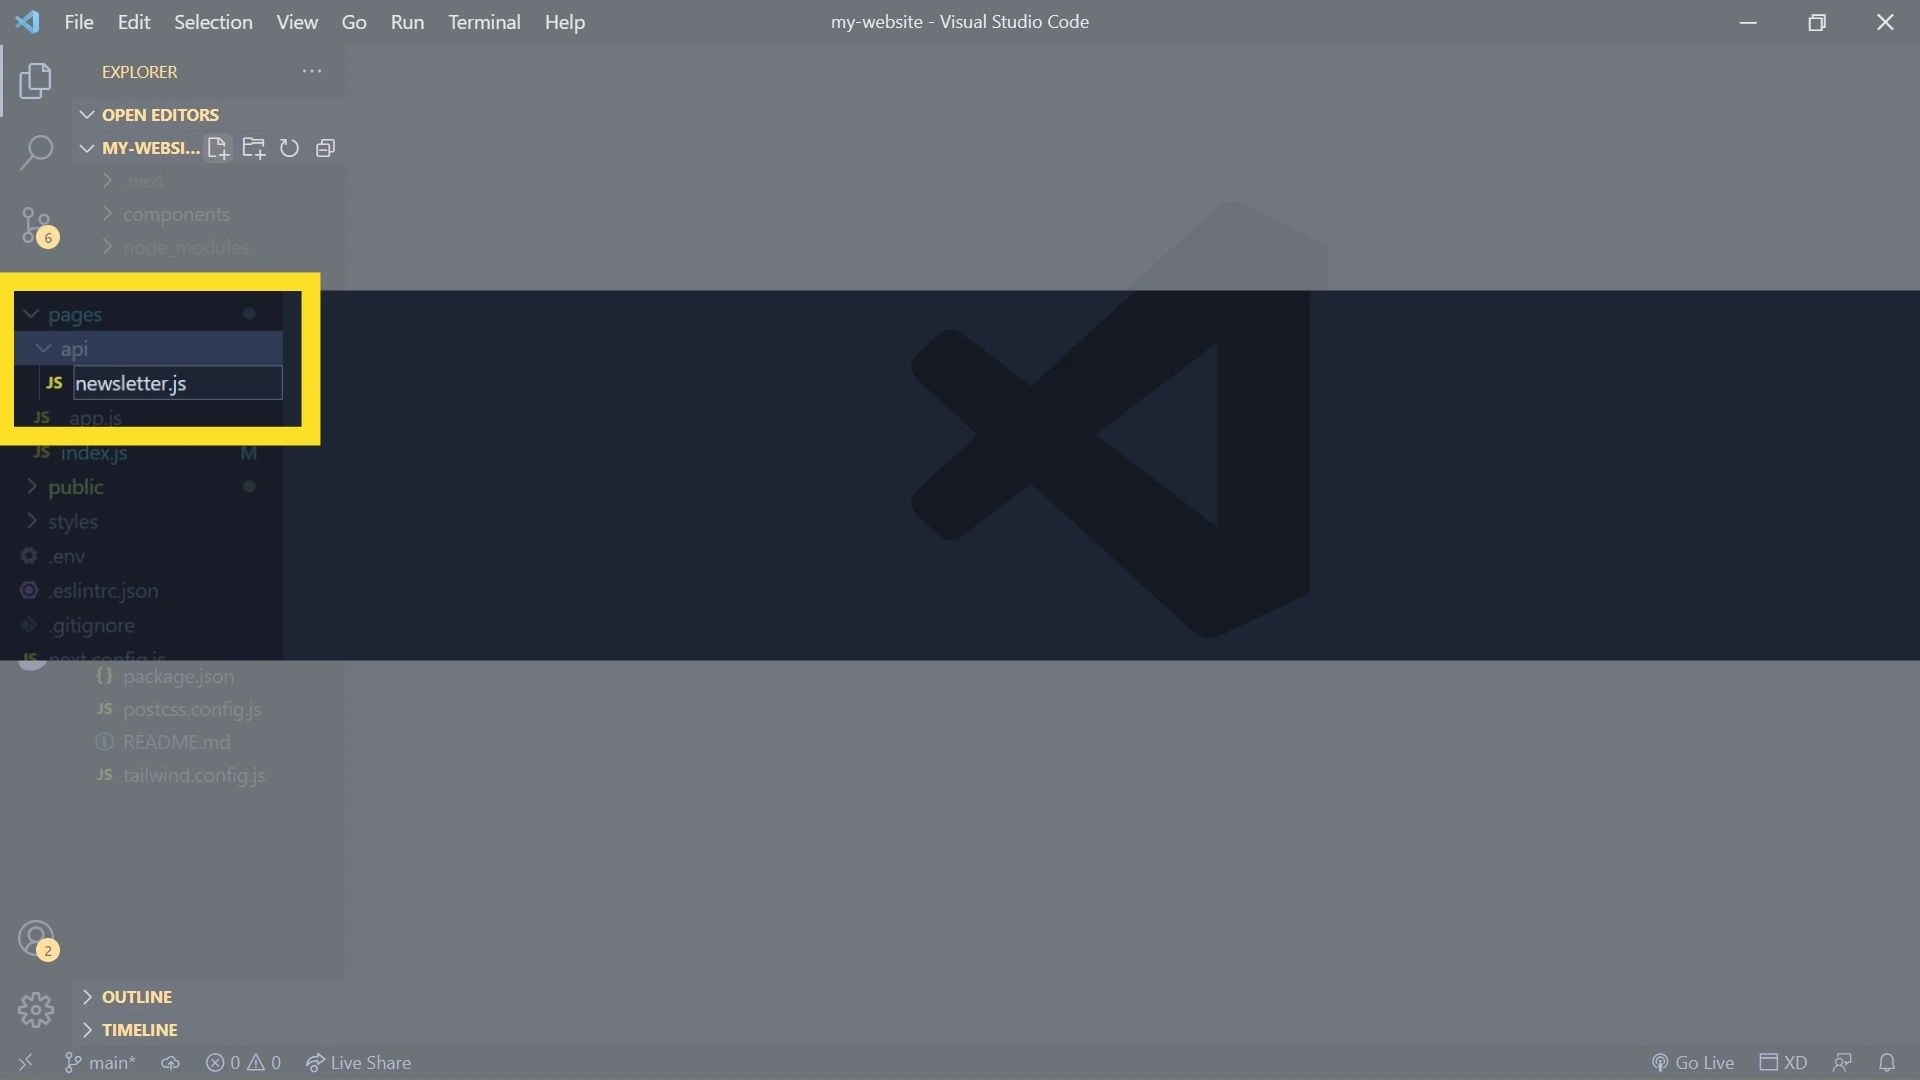
Now open your project in vscode, under pages/api create newsletter.js
Create an async handler function with default export and req res parameters. First, get your email from the req.body and add an if condition to return 400 status with an error message if we received an empty text as an email.
/pages/api/newsletter.js

export default async function handler(req, res) {
  const email = req.body;

  if (!email || !email.length) {
    res.status(200).json({ error: "Please enter a email address" });
  }
}
Next, We will store our API key & list id in a .env file.
.env

MAILCHIMP_LIST_ID=YOUR_LIST_ID
MAILCHIMP_API_KEY=YOUR_API_KEY
we will create a new function named getRequestParms bypassing email as a parameter to get URL, headers, and data. Store the API KEY and List Id in a variable. For URL we need datacenter and list id. To get the datacenter value, we need to split the string API_KEY and get the value at index 1. Create a variable with object data type with email_address and status as subscribed. Mailchimp uses Basic Authentication so we encrypt our API key to base64 and add it up to a variable along with content type. Now just return the URL, data, and headers.
function getRequestParams(email) {
    const API_KEY = process.env.MAILCHIMP_API_KEY;
    const LIST_ID = process.env.MAILCHIMP_LIST_ID;

    const DATACENTER = API_KEY.split("-")[1];
    const url = `https://${DATACENTER}.api.mailchimp.com/3.0/lists/${LIST_ID}/members`;

    const data = {
      email_address: email,
      status: "subscribed",
    };

    const base64ApiKey = Buffer.from(`anystring:${API_KEY}`).toString("base64");
    const headers = {
      "Content-Type": "application/json",
      Authorization: `Basic ${base64ApiKey}`,
    };

    return { url, data, headers };
}
Open a try-catch in the main handler function and create a variable to call the getRequestParms function. Create a response variable to use fetch API with POST method with URL, data, headers passed. On the next line pass return status as 200 with error as null.
If any exceptions, in the catch block just mention "Something went wrong please try again" or any other text.
export default async function handler(req, res) {
  const email = req.body;

  if (!email || !email.length) {
    res.status(200).json({ error: "Please enter a email address" });
  }
  try {
    const { url, data, headers } = getRequestParams(email);

    const response = await fetch(url, {
      method: "POST",
      headers: headers,
      body: JSON.stringify({
        email_address: data.email_address,
        status: data.status,
      }),
    });

    res.status(200).json({
      error: null,
    });
  } catch (err) {
    res.status(400).json({
      error:
        "Please try again!!",
    });
  }
}
Now our API is ready, we will call this on form submit function
Step3: Connecting API to the Application
We will use the useState hook, and we will create two state variables to check whether API call got success or failed & errorMsg to save error messages for the failed API call. I am setting the state to 0 for initial, 1 for loading, 2 for success, and 3 for failed. Based on this I have added conditions to show up different components.
import { useState } from "react";
export default function Home() {
  const [state, setState] = useState(0);
  const [errorMsg, setErrorMsg] = useState("");
  // 0 - initial , 1 - loading, 2 - success, 2 - error
Create a form with one email input and submit button.
<form onSubmit={subscribe} className="flex flex-col mb-9 mt-4">
   <input required placeholder="Email address" type="email" />
   <button type="submit">Subscribe</button>
 </form>
Create a subscribe async function, add try-catch here also inside fetch /api/newsletter with POST method and pass email. Get the response using res.json() and throw an error if data.error() is not null which will be caught in the catch block, setState to 1 on function start and setState to 2 at end of the try block and set 3 at the catch block.
const subscribe = async (e) => {
    e.preventDefault();

    setState(1);
    seterrorMsg("");
    console.log(e.target[0].value);
    try {
      const res = await fetch("/api/newsletter", {
        method: "POST",
        body: e.target[0].value,
      });

      const data = await res.json();
      if (data.error !== null) {
        throw data.error;
      }
      setState(2);
    } catch (e) {
      seterrorMsg(e);
      setState(3);
    }
  };
Finally, based on this state I will show UI components as required.
<div>
  {state == 2 ? (
     <p className="font-medium mt-4 text-xl text-green-800">
        Thanks for subscribing, you will receive mail once we launch our
 website.
     </p>
   ) : (
      <form onSubmit={subscribe} className="flex flex-col mb-9 mt-4">
         <input required placeholder="Email address" type="email" />
         <button type="submit">Subscribe</button>
         {state === 3 ? (
            <p className="text-red-500 mt-3">{errorMsg}</p>
          ) : (
                ""
              )}
         </form>
   )}
</div>
Final codes
/pages/index.js

import { useState } from "react";
export default function Home() {
  const [state, setState] = useState(0);
  const [errorMsg, setErrorMsg] = useState("");
  // 0 - initial , 1 - loading, 2 - success, 2 - error
const subscribe = async (e) => {
    e.preventDefault();

    setState(1);
    seterrorMsg("");
    console.log(e.target[0].value);
    try {
      const res = await fetch("/api/newsletter", {
        method: "POST",
        body: e.target[0].value,
      });

      const data = await res.json();
      if (data.error !== null) {
        throw data.error;
      }
      setState(2);
    } catch (e) {
      seterrorMsg(e);
      setState(3);
    }
  };
return (<div>
  {state == 2 ? (
     <p className="font-medium mt-4 text-xl text-green-800">
        Thanks for subscribing, you will receive mail once we launch our
 website.
     </p>
   ) : (
      <form onSubmit={subscribe} className="flex flex-col mb-9 mt-4">
         <input required placeholder="Email address" type="email" />
         <button type="submit">Subscribe</button>
         {state === 3 ? (
            <p className="text-red-500 mt-3">{errorMsg}</p>
          ) : (
                ""
              )}
         </form>
   )}
</div>);

/pages/api/newsletter.js

function getRequestParams(email) {
    const API_KEY = process.env.MAILCHIMP_API_KEY;
    const LIST_ID = process.env.MAILCHIMP_LIST_ID;

    const DATACENTER = API_KEY.split("-")[1];
    const url = `https://${DATACENTER}.api.mailchimp.com/3.0/lists/${LIST_ID}/members`;

    const data = {
      email_address: email,
      status: "subscribed",
    };

    const base64ApiKey = Buffer.from(`anystring:${API_KEY}`).toString("base64");
    const headers = {
      "Content-Type": "application/json",
      Authorization: `Basic ${base64ApiKey}`,
    };

    return { url, data, headers };
}

export default async function handler(req, res) {
  const email = req.body;

  if (!email || !email.length) {
    res.status(200).json({ error: "Please enter a email address" });
  }
  try {
    const { url, data, headers } = getRequestParams(email);

    const response = await fetch(url, {
      method: "POST",
      headers: headers,
      body: JSON.stringify({
        email_address: data.email_address,
        status: data.status,
      }),
    });

    res.status(200).json({
      error: null,
    });
  } catch (err) {
    res.status(400).json({
      error:
        "Please try again!!",
    });
  }
}
In this way, we can easily create newsletter subscription form by first setting up with mailchimp account, then API in NEXT JS API routes and finally connecting them to the application.
That's it for this post friends, If you found this post helpful please share maximum, Thanks for reading 😊 Stay tuned.
Also Please don’t forget to subscribe our youtube channel codewithmarish for all web development related challenges.
https://www.youtube.com/channel/UCkPYmdVz8aGRH6qCdKMRYpA
For mailchimp api documentation please visit
